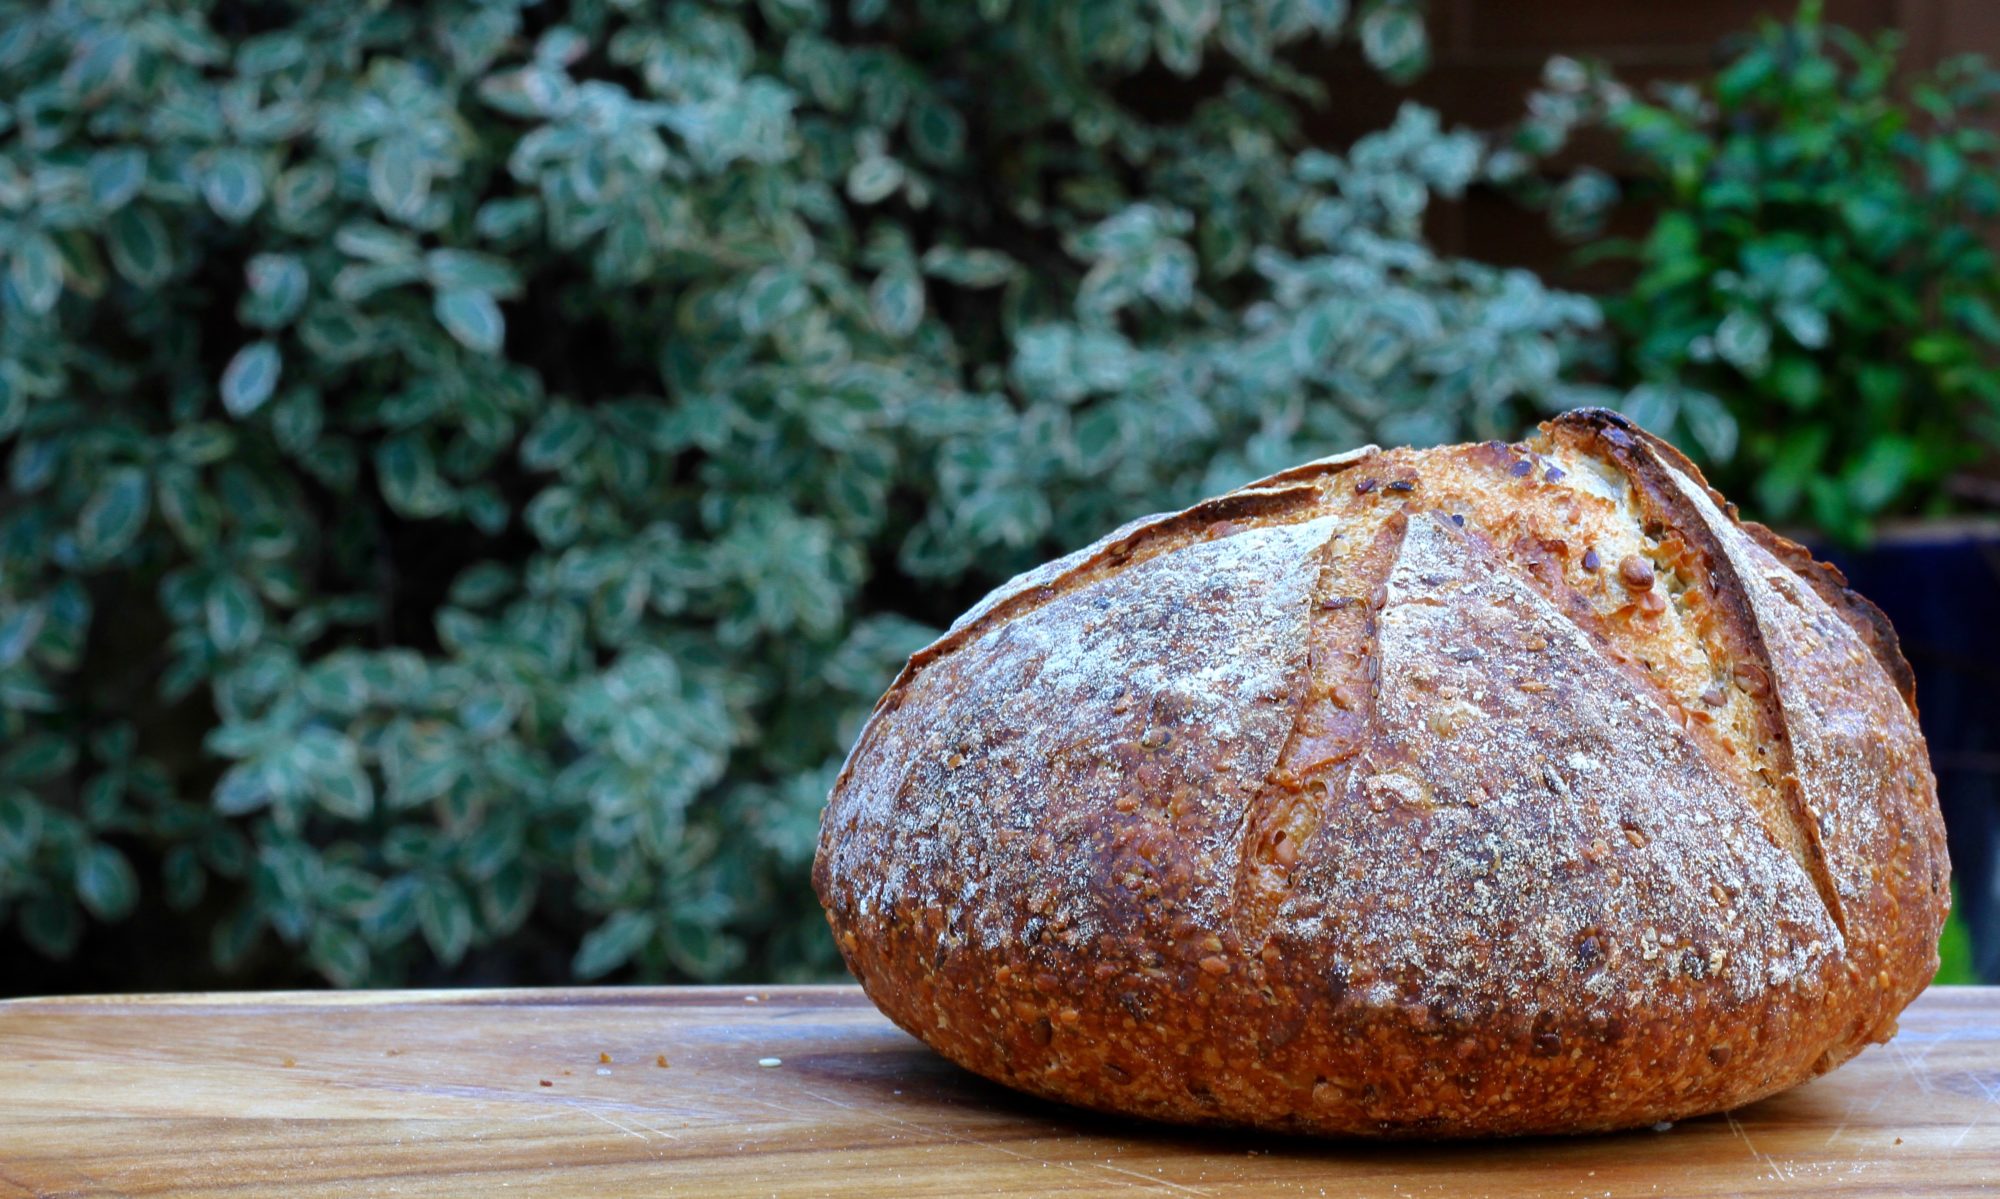


 Freshly baked homemade pita bread is unbeatable. Pita is very easy to freeze and can be easily warmed in the toaster or wrapped in foil and reheated in a hot oven. I like to use a combination of plain flour and wholemeal flour because this produces wholesome soft bread without being too dry or chewy.
I have tried recipes by several chefs, including those by Delia Smith from her “How to Cook”, (too white), Dan Lepard (also too white) and Paul Hollywood (too thick and chewy) and concluded that Dan Lepard’s basic recipe, amended to include wholemeal flour was the best.
Peter Reinhart also has an excellent recipe for wholemeal pita, which needs starting the previous day, as it needs a biga and a soaker, (for another post!)
If you can get Indian chapatti flour or Atta, you can use 100% of that in the recipe, in lieu of the 2 flours. I have used a food processor, but the dough is easily made by hand in a large mixing bowl, or on the counter. I have experimented with many different thicknesses for Pita bread to ensure that it puffs up well in the oven but not be too thick and doughy. My conclusion is to roll the pita about 5mm thin, no less and no more! It's really important to get the oven very hot so the pita gets a good lift, which is created by steam from the dough.

| Prep Time | 30 min |
| Cook Time | 15 min |
| Passive Time | 1 hr 30 min |
| Servings |
pieces
|
Ingredients
- 250 g plain flour
- 250 g wholemeal flour (not wholemeal bread flour which will make the pita chewier)
- 1 teaspoon instant yeast
- 1 tablespoon sugar
- 1 teaspoon salt
- 2 tablespoons oil vegetable or olive oil
- 325 ml water
Ingredients
|
|
Instructions
- Measure out the two flours, instant yeast, sugar and salt, and place in a food processor or standing mixer.
- Add the oil and water and mix on the slow speed until you get a soft sticky dough.
- Transfer dough on an oiled work surface and knead lightly by hand until smooth. Oil the surface of the dough and replace in bowl and cover well. (I use plastic shower caps, which can be washed and reused, to cover dough, rather than cling film)
- Leave the dough to rest for 1 hour or so, in which time it will become puffy and light.
- Heat the oven to the highest setting, (if you have a fan setting then use that). Place 1 or 2 baking trays in the oven for at least 10 minutes, (alternatively use a baking stone and leave it in the oven for 30 minutes to preheat).
- Once the dough has rested for 1 hour divide it into roughly 80g to 85g pieces. You can either weight out each piece if you want to be precise, or eye ball it but patting the dough into a circle and then cutting it into 10 equal wedges.
- Shape each piece into a ball and place on the work surface. Use your hand to cup the dough over the work surface and gently roll and tighten each ball of dough (see link below under notes). Cover the dough balls with a dish cloth leave to rest for about 15 minutes.
- Roll each ball with a rolling pin, into an oval or round about 5 mm thick. Use a sprinkling of flour if needed to avoid the dough from sticking to the rolling pin.
- Open the oven and quickly place as many pitas as will fit on the o tray/s or stone, and shut the door. You will need to use your hands to transfer the pita rounds from the counter to the tray, so be careful not to touch any part of the hot tray.
- Bake for about 3 to 5 minutes until the pitas are risen and puffy and lightly coloured. It's tempting to bake them a bit longer and allow them to colour, but they tend to get chewy on cooling.

- As soon as they are done, remove from the oven, and wrap in a dish cloth whilst still warm. This is important to keep them soft and moist while you finish baking the remaining dough. Covering the breads in this manner is key to keeping them supple and soft for later use.
Recipe Notes
Here's an useful video that shows how a dough ball should divided and tightened for dinner rolls, and can be easily applied to Pita.
Share this Recipe