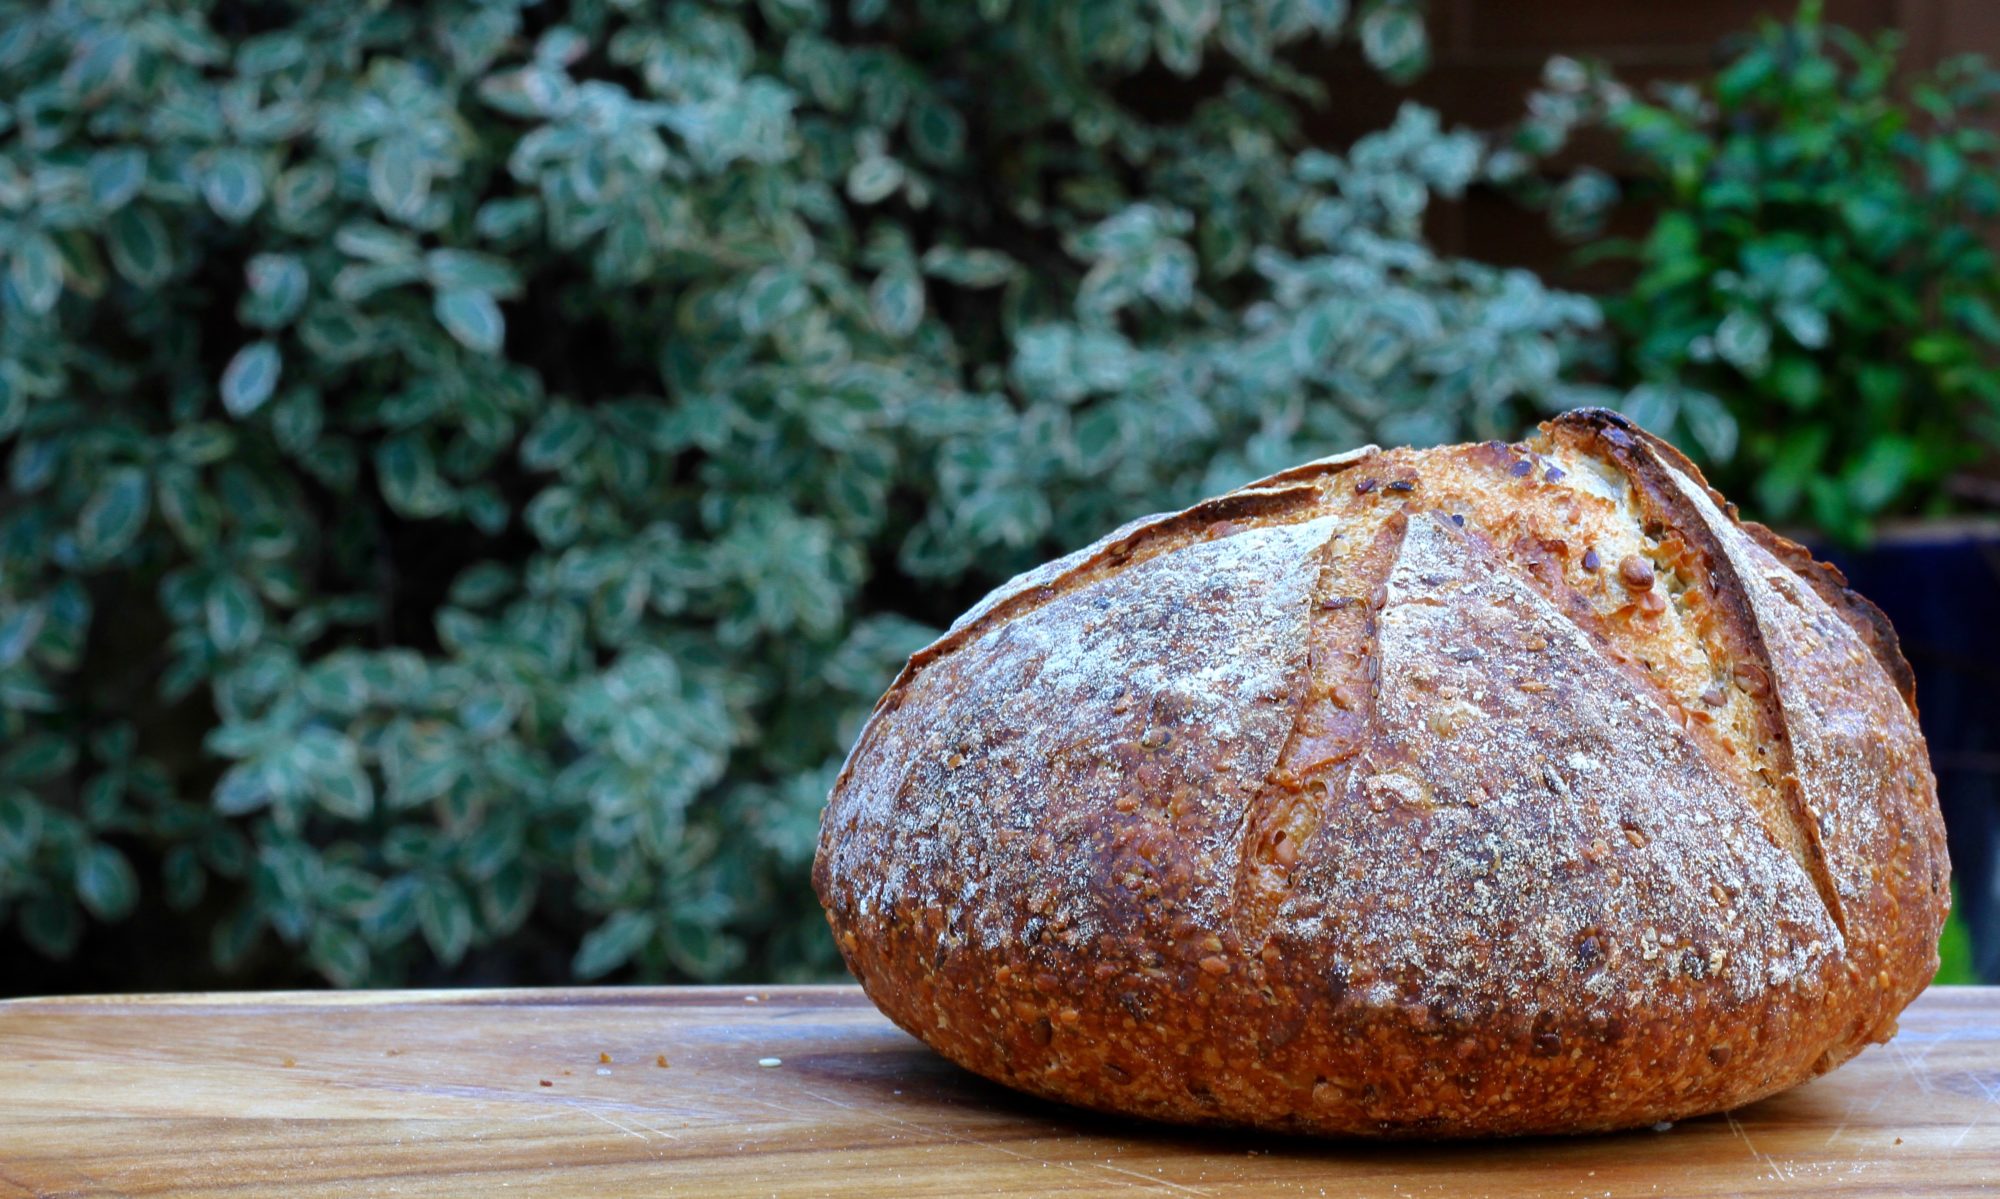


Kubaneh is a traditional Yemeni bread, which I ate for the first time at Palomar ( a must visit restaurant in Soho). It’s incredibly soft and yielding, and you just pull apart pieces and dunk in the fresh tomato dip accompanying it. I have raved about the Palomar cookbook and I was determined to try making this bread after addictively pigging out on it at the restaurant. Although Kubaneh is traditionally made in individual portions, I don’t have the right baking rings, so as suggested in the cookbook, I used 2 loaf tins.
Knowing a little about bread-making I was intrigued with the recipe in the book where butter is slathered onto the dough. I had seen some unleavened Indian bread made in a similar manner but hadn’t ever tried making a yeasted bread in this manner.
Unsure of the results, I decided to try the recipe. I am now a convert and have made the bread few times when entertaining friends.
Shaping the bread literally involved rolling up your sleeves, but it turned out to be an ingenious way to build thin layers of butter into the dough. This concept of adding thin layers of fat to bread dough is classic, as anyone who’s eaten a croissant would know, but the result with this bread was totally different with the layers being soft and fluffy rather than crisp and flaky. The process is way easier than I expected and results impressive. Compared to other bread, this also doesn’t take that long from start to finish. A firm favourite now.
This might be a good time to mention that the bread freezes and reheats beautifully if you manage to have any leftovers.
And the added bonus – working with all that butter leaves your hands beautifully soft and moisturised, something I can certainly do with!

| Prep Time | 45 hours |
| Cook Time | 40 min |
| Passive Time | 2 hours |
| Servings |
loaves
|
- 500 g plain flour plus extra for dusting
- 10 g instant yeast
- 15 g fine sea salt
- 70 g granulated sugar
- 1 small egg
- 320 g cold water
- 100 g unsalted butter
Ingredients
|
|
- In the bowl of an electric mixer fitted with a dough hook attached, place the egg and the water. Mix on low speed and then add the the flour and yeast together on a low speed, followed by the salt and the sugar. Mix on a low speed ensuring there is no flour left unmixed at the base of the bowl. The dough will be very sticky, but do not worry – this is exactly how it should be, so do not be tempted to add any flour.
- Continue to knead the dough on a low speed for 3 minutes. (The dough can be mixed by hand in a large bowl). Once the dough looks like this, transfer to an oiled bowl, cover with clingfilm and leave the dough to rest for 10 minutes.

- Uncover the dough and knead it for about 1 minute to let some of the air out, then recover with clingfilm and leave to rest for a further 10 minutes. Repeat this kneading and resting process, then uncover and knead once more to let the air out – three times in total. Leave the dough to rise for about an hour or until tripled in size.
- Next comes the fun part – it’s time for some hand-in-butter action. Lightly butter 2 loaf tins. Melt the butter in a small pan on the hob or in the microwave – it should be lukewarm rather than piping hot, otherwise dipping your hands in it will be no fun at all.
- Clean your work surface and use your hands to grease it with a little of the melted butter. Make sure you keep your hands and work surface nicely buttered throughout. Now divide the dough into 6 evenly sized balls (150g each). Take the first ball and, using your buttered hands, begin to spread the dough into a thin sheet roughly A4 paper size (30 x 42cm) – it’s OK if you get a hole here and there. Keep buttering your hands and work surface if needed.

- Use your hands to roll the sheet into a tight tube. Now spiral the tube into a coil and place at one end of the baking tin. Repeat with the rest of the balls of dough.

- For loaf tins, fit three coils of dough in one tin, and snuggle them close to each other. If there's any butter left over, spread it on top of the loaves.

- Cover the tins, leave them to prove for up to 1 hour or until tripled in size and very puffy. This is key to getting a good result. Towards the end of the proofing time, preheat the oven to 200C (180C fan).

- Bake the kubaneh for 30-35 minutes if using loaf tins, turning the baking sheet around halfway, if necessary, through baking to ensure a nice even colour on each loaf.
- Take the baking sheet out of the oven and leave the loaves to cool for 10 minutes after which you are ready to pull apart and dip!
Fresh tomato dip - Serve this as they do at Palomar, with a fresh tomato dip, made by blending ripened tomatoes, a dash of chilli and cumin and little olive oil. Strain through a fine sieve, season and serve.