Food I cook for my family, baking recipes, cookbook reviews, and your cooking questions answered
Palomar’s Challah
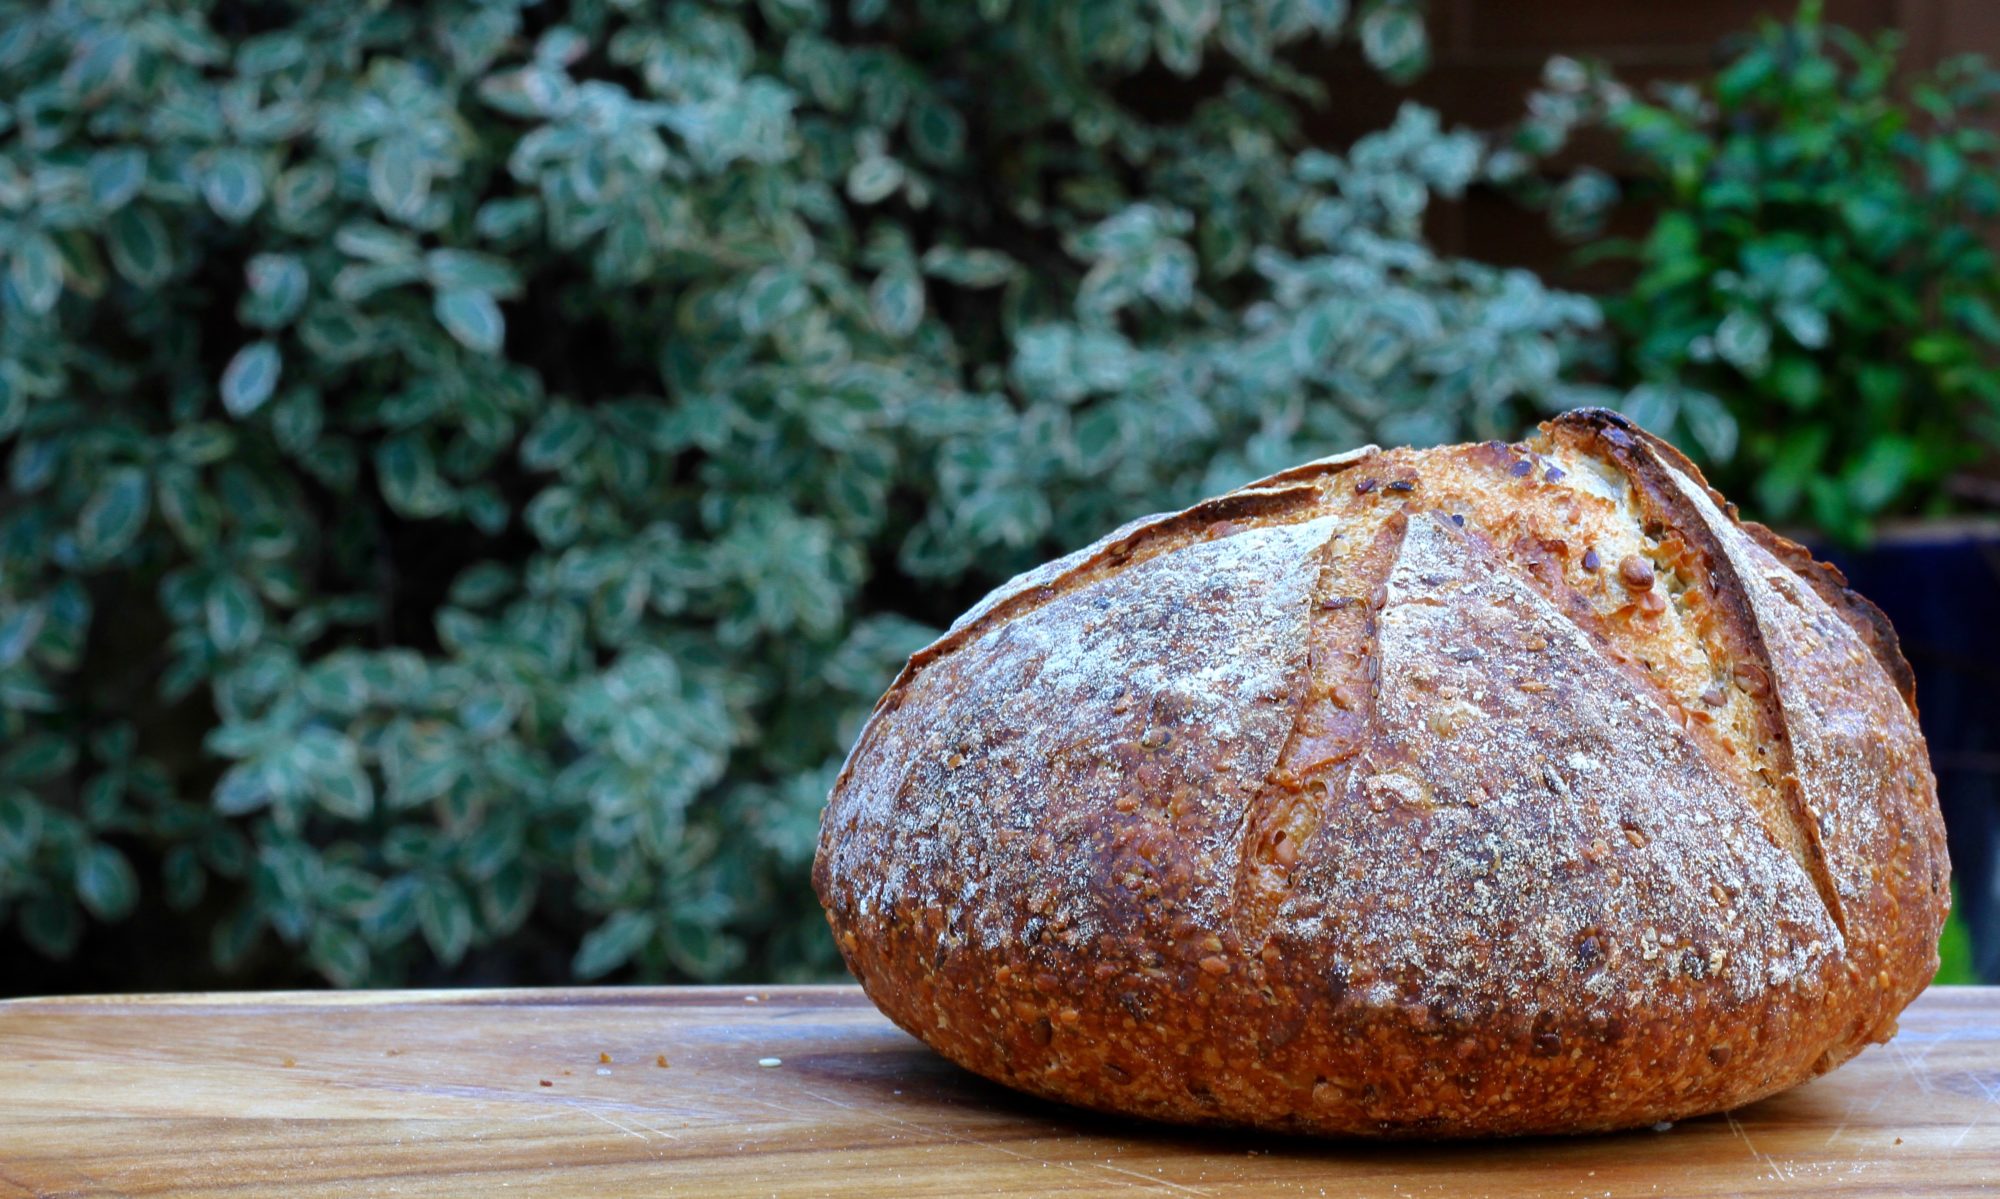
Baked challah
(Pronounced as ‘hallah’,). This is an enriched Jewish bread made on Fridays. It’s become popular because it looks gorgeous and is an excellent accompaniment for dips and other Middle Eastern dishes. It’s a soft, chewy bread, with a glistening crust, lighter than a brioche but richer than a simple white loaf.
From an effort / reward standpoint, I find it an excellent choice, as it’s relatively easy to make (the dough being quite firm, and easy to handle). And the reward… you can see for yourself how spectacular this bread looks. Your guests will be suitably impressed and your baking prowess will be established. I made it recently for a small dinner with friends and served it with hummus, olives and other mezze dishes.
Palomar’s challah recipe
After having had much success with Palomar’s Kubaneh bread, I decided to try their Challah. I wasn’t disappointed. It’s a straightforward dough, and only takes a total of 3 hours or so from start to finish, including all the proving times.If you are new to bread making and want to make something to impress, this is a good recipe to start with.
Challah French toast
Leftovers freeze well, and make excellent French toast (we ate some for breakfast next day) as well as toasted sandwiches.
Print Recipe
Palomar’s Challah
Traditional Jewish recipes don’t include dairy, so no butter unlike brioche, with the softness coming from a little added oil. I have provided all measurements in grams, as it’s easy to just weigh everything out using scales. You can make this bread by hand, but it will require some patience and strength! Alternatively use a food processor and then use a your hands to bring it all together.
Weigh out all the wet ingredients first in the bowl of a stand mixer. Then add the dry ingredients and knead on a low speed for 7-10 minutes. You should have a smooth looking, slightly sticky dough.
Make a ball of the dough and transfer to a large oiled bowl for the first proof. Roll the rough in the oil so that the surface doesn’t dry out, and then cover tightly.
Leave to rise at room temperature for about an hour or until doubled in size. In a cool kitchen that may take a little longer.
Meanwhile, prepare a baking tray by lining with baking paper.
Once the dough has doubled, lightly flour the counter and transfer the dough to the counter. Divide it into 3 equal parts.
Take each piece of dough and flatten it slightly, with your hands to create a small rectangle, then roll it up, starting from one longer side. Use the side of your palm to create a light seal after each roll.
Continue rolling until the seam seals and you have a long strand about 50cm long, or a length not longer than your baking tray. Repeat with the other 2 pieces of dough.
Join the 3 strands together at one end and start to plait them. Try to keep your plaiting fairly loose to leave the room for the dough to rise. Once you reach the end, tuck the strands under themselves and gently move the challah to the lined baking tray.
Cover with a teal cloth, and leave to prove in a warm place for about 30 minutes until it’s once again doubled. Meanwhile prepare your oven by preheating it to 200C.
Once the dough looks puffy and ready to bake, brush it gently with the egg wash. Avoid pulling or damaging the dough. Sprinkle generously with sesame seeds.
Bake in the hot oven for about 30-35 minutes until golden brown.
Take out of the oven and leave to cool completely on a wire rack before cutting it. It’s hard to resist leaving it alone for so long, but your patience will be rewarded! The dough needs to cool and set, and if you cut into it whilst hot, the bread might be gummy.
Recipe Notes
Challah reheats well in the oven. Just spray lightly with some water and put in a hot oven for about 10 minutes.
Slice and freeze the leftovers in an airtight ziplock back. It defrosts quickly in the toaster, and makes delicious French toast.