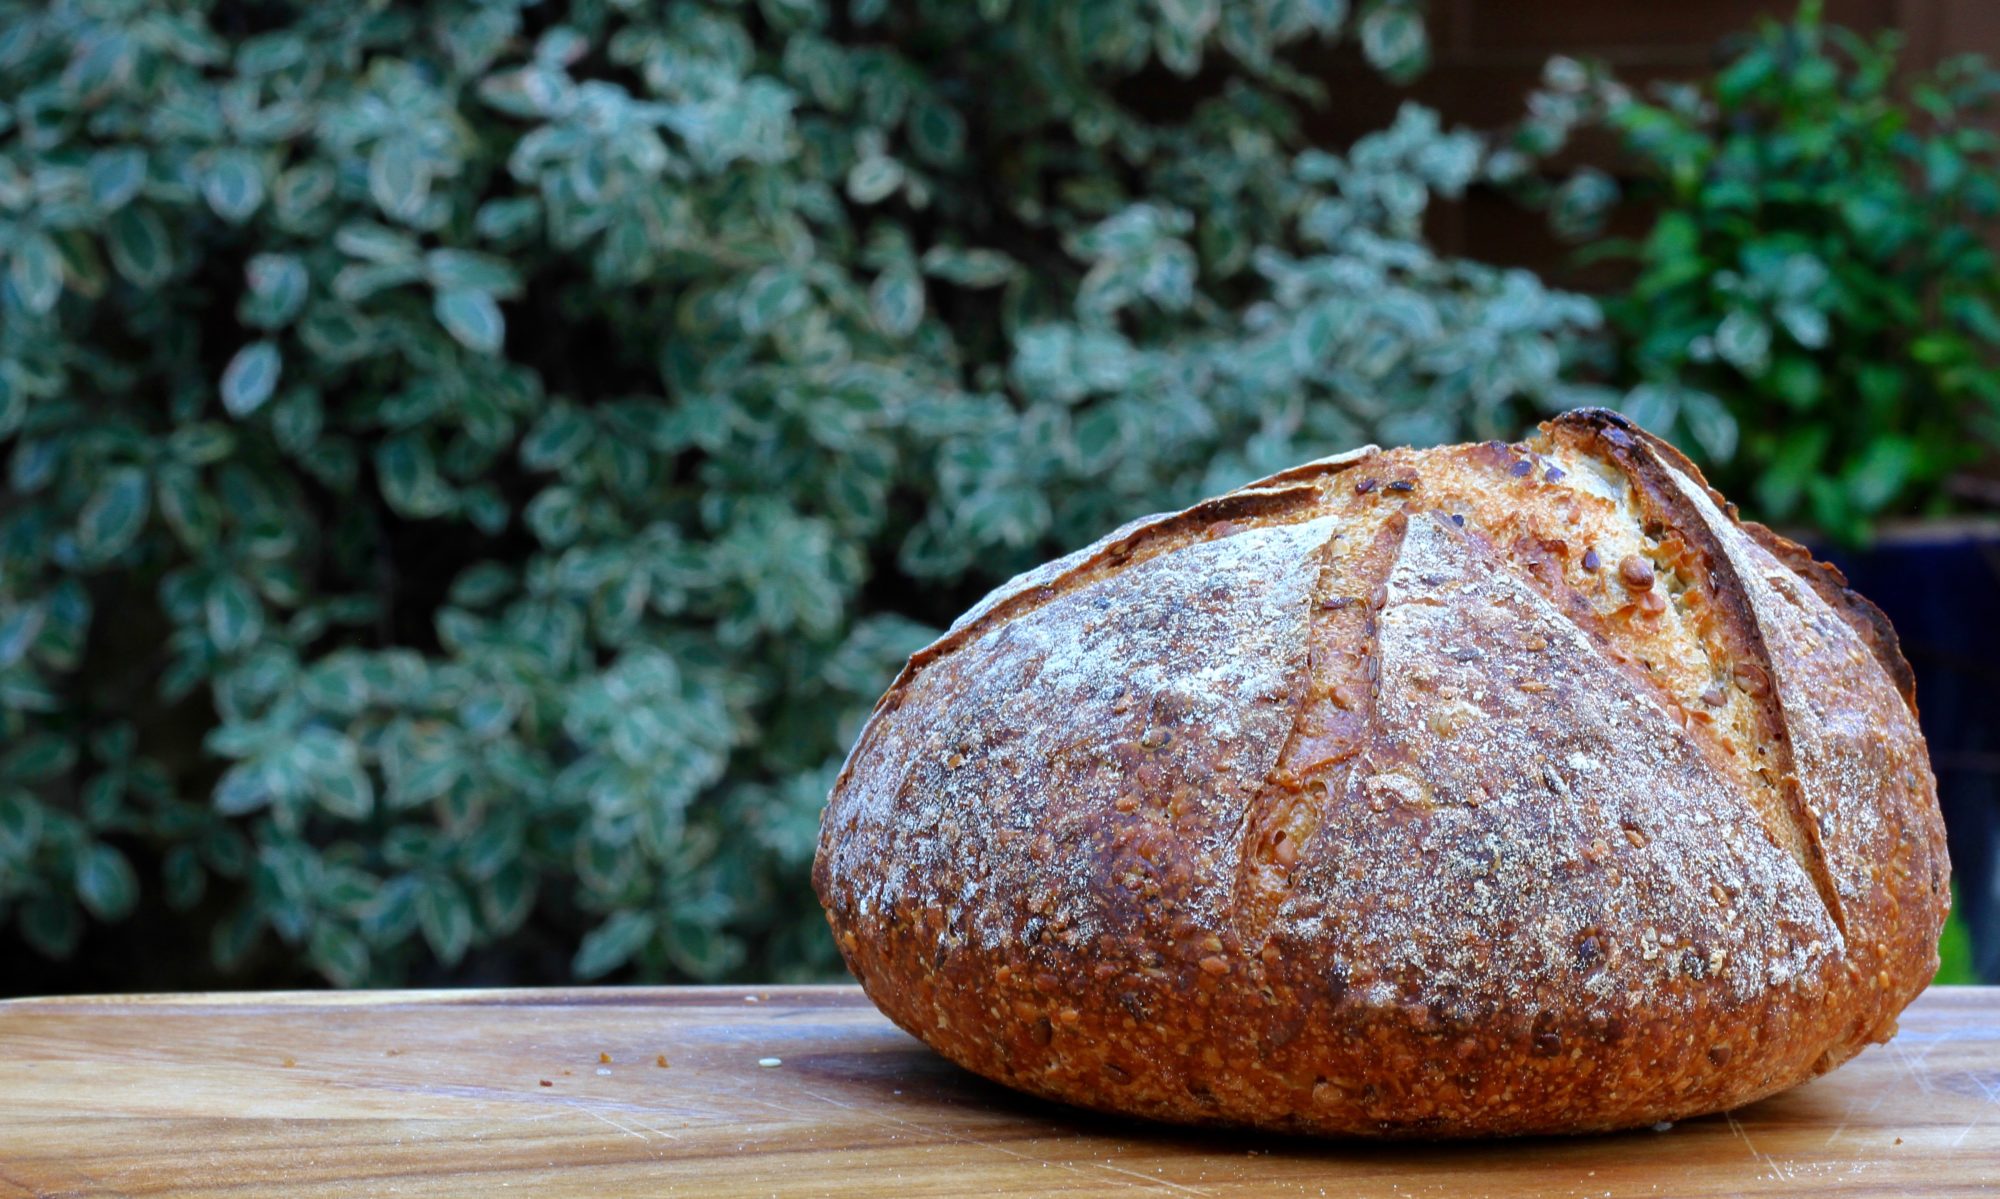


I love apricot preserve, and for once I can’t say that I am making it for any of the boys… It’s my treat, to be eaten with peanut butter on multigrain toast. Sounds deceptively decadent, but actually pretty good for you, if you overlook the sugar in the preserve.
I have tried several apricot preserves, one made with fresh apricots (can be hit and miss, and expensive to make unless apricots are in season and cheap), one made with dried apricots and white sugar, similar to the one we made at Baker & Cook, and others made with the addition of apples or other fruits. My current favourite is by Delia Smith from her “How to Cook, Book 3”. Here is the original recipe.
It’s an excellent one to make through the year as it doesn’t need fresh apricots. It keeps well, and improves with age. I have made a few changes to it thought. The original recipe keeps the apricots whole, which I find hard to spread on toast, so I chop the apricots into quarters. I also like to add a pinch of salt and some vanilla extract (make your own, click here).
For bottling, I reuse clean glass jars, but use new lids (ordered from Lakeland, UK) or use Killner jars with 2-part lids.

| Prep Time | 15 min |
| Cook Time | 45 min |
| Passive Time | 12 hours |
| Servings |
litre approximately
|
- 500 g apricots dried chopped into quarters
- 60 g whole almonds skin on, roughly chopped
- 500 g dark soft brown sugar or light brown, for a subtler caramel flavour
- 3-4 lemons juiced
- big pinch salt
- 2 teaspoons vanilla extract
Ingredients
|
|
- The night before you cook the preserve, soak the chopped apricots in a bowl and pour 620 ml of warm water over them.
- Next morning, place the apricots, along with their soaking water, in a large saucepan and simmer very gently for about 30 minutes or until the apricots are really tender when tested with a small skewer or knife.
- Meanwhile have a few jam jars with clean lids, washed and dried for use. Place them on a baking tray, including the lids, and pop them in a medium oven, at 180°C for a minimum of 5 minutes, but you can leave them in the oven until the preserve is ready.
- Once the apricots are cooked soft, add the sugar and, keeping the heat very low, allow it to melt until all the granules of sugar completely dissolve. This is important as the conserve will be grainy in texture if the sugar doesn't melt properly at this stage. To test, dip a wooden spoon, and as the liquid runs off the back of it, you will see clearly if there are any granules visible.
- When the sugar has dissolved, turn the heat up to high. Next, add the juice of 3 lemons and taste (be careful, the preserve will be very hot!). If you want a more tangy finish, add the juice of 1 more lemon. Now add the almonds and boil rapidly, stirring from time to time to prevent the conserve catching on the base of the pan.
- Boil for about 12 minutes and then add the vanilla extract and salt.
- Use a thermometer to check the temperature, if you have one. Else follow my note at the end of the recipe. You are looking for a temperature of 104C. Carry on cooking the conserve at high heat until you reach this temperature. As soon as you do, take the pan off the heat, else the preserve will get too jammy and thick. Let the preserve stand for 15 minutes to allow it to settle.

- Carefully take out the tray with the hot sterilised jars from the oven, and pour the conserve through a funnel into the hot, sterilised jars, filling them as full as possible. Screw on the lids straightaway, but don’t tighten the lids completely. Leave undisturbed for at least 24 hours in which time the lids should have formed a vacuum, and the lids with the button tops will have “caved in” to create a vacuum. Give the lids one final twist to tighten. thoroughly before storing in a cool, dry, dark place. In case one of the seals isn’t tight, use that jar first and store in the fridge if your kitchen is warm.
I don’t rely on Smith’s method to test the jam, as it can a bit messy and requires multiple plates to be kept in the freezer, etc . I use an instant read thermometer, but in the absence of that, follow the original directions in the recipe for checking the doneness of the jam.